An Excel Add-in is a mini-software application that provides Excel with enhanced functionality and automation features. Whilst they can be created by third-party suppliers, even Microsoft themselves develop add-ins to provide additional functionality.
Add-ins can take a number of forms:
- Excel Add-ins – typically these are Excel files saved with .xlam or .xla file types. They can be opened for single use, or installed to ensure the features and functionality are always available.
- COM Add-ins – requires full software installation process for the functionality to be available.
- Office Download Store Add-ins – These are purchased and available through the Microsoft Office Add-ins store. (Click Insert > Get Add-ins > Store from the Excel Ribbon).
COM Add-ins and Office Download Store Add-ins will have their own installation processes. Excel Add-ins, however, have a more flexible approach and require a few manual step to ensure the software installs correctly. But don’t worry, it’s pretty easy.
This post specifically covers the steps to install an Excel Add-in for both Windows and Mac.
Table of Contents
Manually opening an Add-in for single use
To use an Add-in it is not essential to install it. Opening the file as a standard Excel file will enable the use of the Add-in whilst that session of Excel remains open. The next time Excel opens, the Add-in will not be available automatically, it will need to be manually opened again.
How to install an Add-in (Windows)
The steps into install an Add-in on a Windows PC are as follows:
Save the file
Save the file on your computer in a location which is accessible at all times.
There is an official Add-ins folder, which can usually be found here: C:\Users\[user name]\AppData\Roaming\Microsoft\AddIns\. However, there is no need to use this folder; any folder will do. Personally, I use an Add-ins folder within the Documents folder.
Unblock the file
If the Add-in file was saved from the internet, there is an extra step to permit access to the file.
Right-click on the Add-in file, select Properties from the menu.
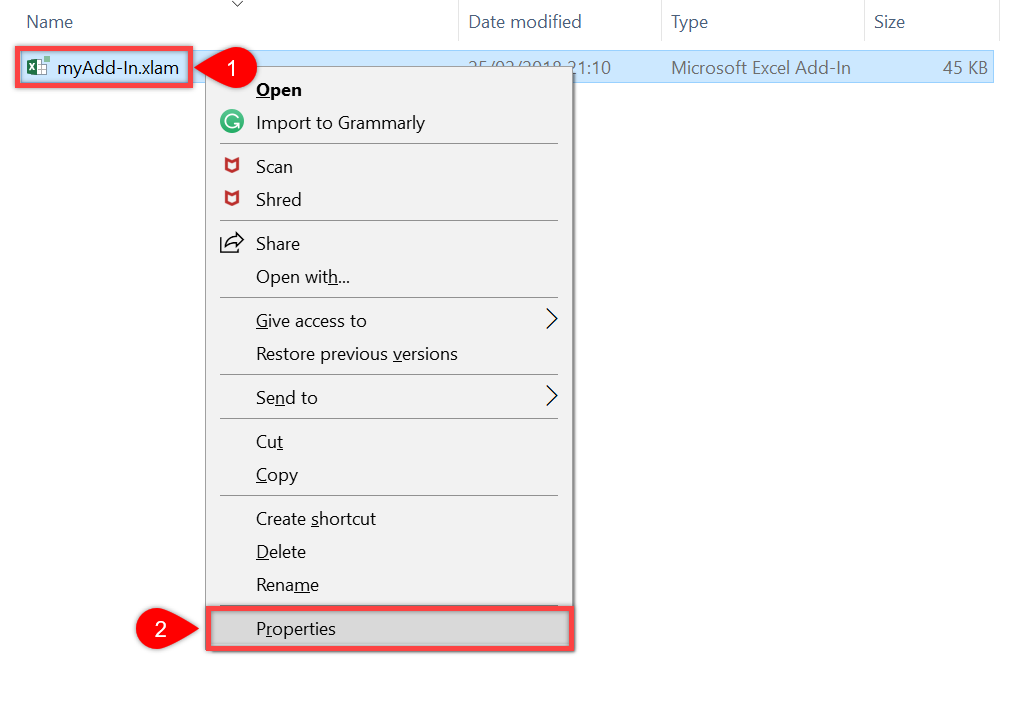
From the Properties window unblock the file and click OK.
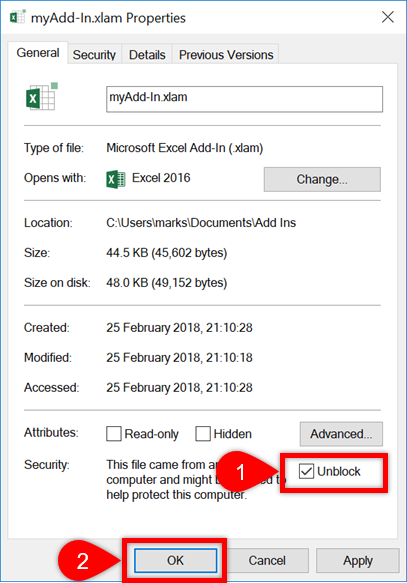
It is only necessary to unblock the file once.
If there is not an unblock option you can skip this step, as Windows has not deemed the file to be a security risk. Add-ins can be harmful to your computer, (they can be used to transfer viruses), so only unblock files which come from reputable sources.
Install the Add-in within Excel
Open Excel. From the Excel Ribbon click File -> Options
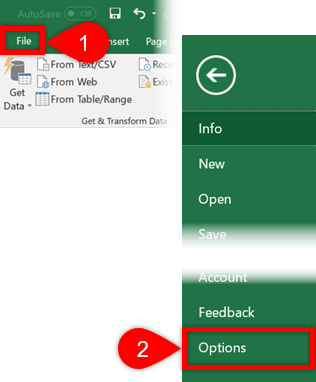
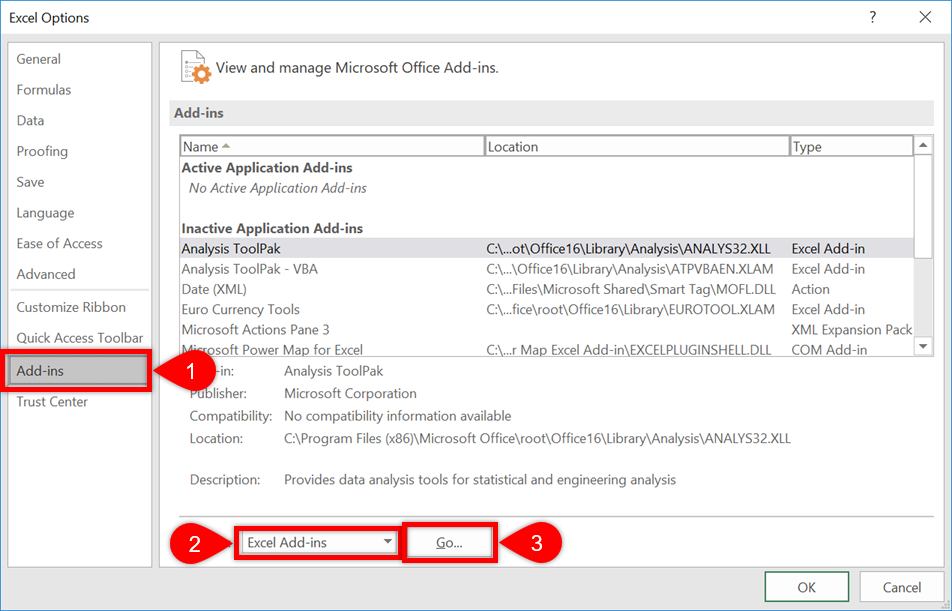
From the Excel Options window select Add-ins. The main window will change to show a list of active and inactive Add-ins. At the bottom of this window select Excel Add-ins and click Go…
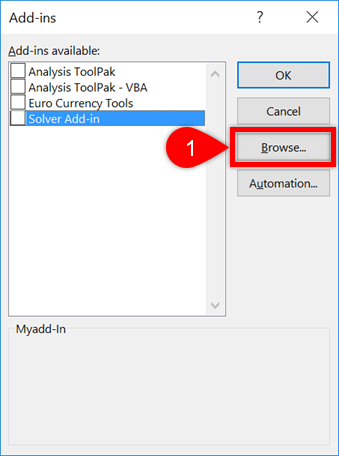
From the Add-ins window click Browse…
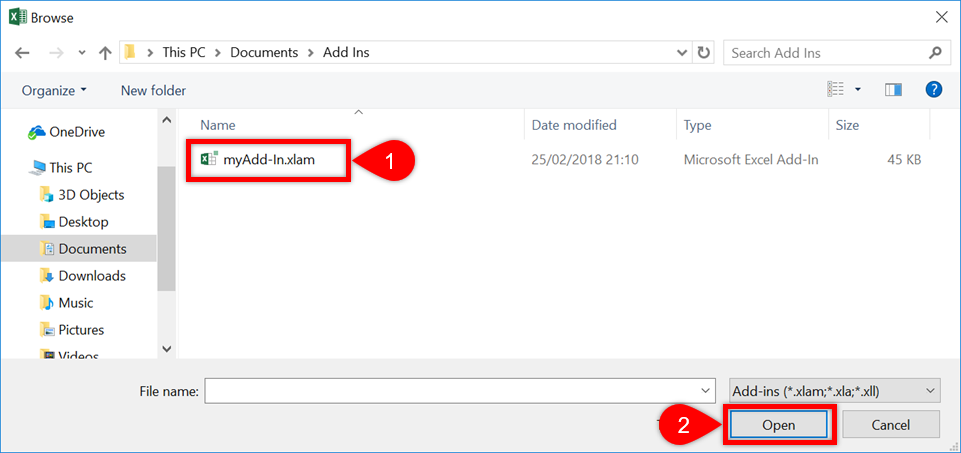
Navigate to the location where you save the Add-in file. Select the file, click Open.
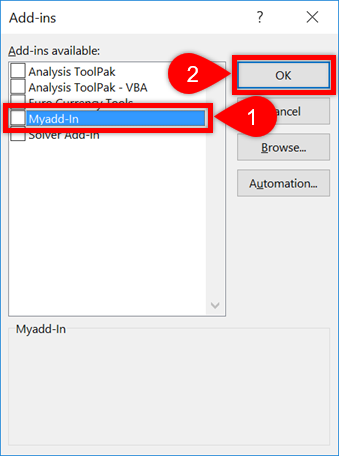
The Add-in will appear in the list with a tick next to it. Click OK.
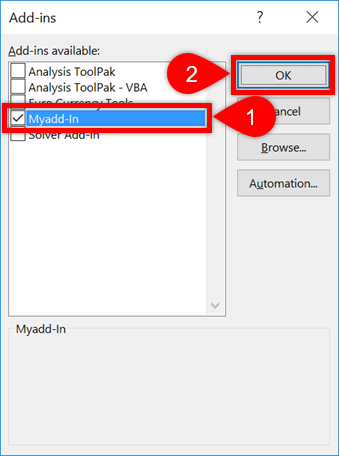
The Add-in has installed and is now ready for use.
How to deactivate an Add-in (Windows)
If you wish to keep an Add-in, but do not need it to be active, follow these steps (see screenshots in the section above).
Open Excel. From the Excel Ribbon click File -> Options.
From the Excel Options window select Add-ins, at the bottom of that window select Excel Add-ins from the Manage drop-down, then click Go…
Untick the box next to the name of the Add-in to deactivate. Click OK.
The Add-in will remain in the list Add-ins, but will not be active. It will no longer open automatically when Excel starts.
How to uninstall an Add-in (Windows)
If you wish to uninstall an Add-in completely delete, move or rename the original Add-in file.
Follow the steps above to deactivate the Add-in.
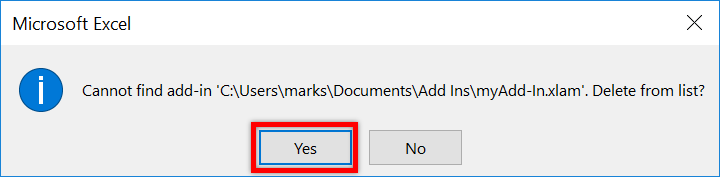
When ticking or unticking the Add-in, a message box will appear, asking for permission to delete the reference to the Add-in. Click Yes to uninstall the file.
How to install an Add-in (Mac)
On a Mac there are fewer steps than on Windows (Yes, the Mac version is better at somethings). This procedure only applies to Excel 2016.
Save the file
Save the file on your computer in a location which is accessible at all times.
Install the Add-in within Excel
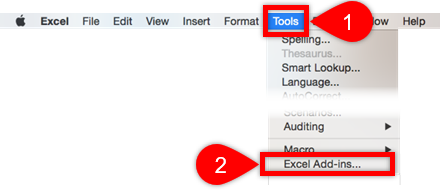
Open Excel. From the Menu Bar select Tools -> Excel add-ins…
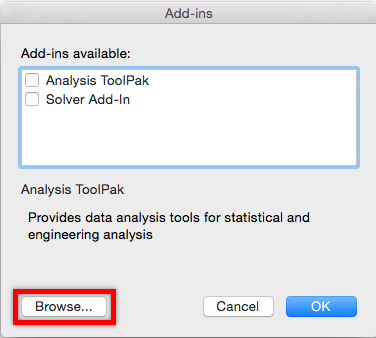
The Add-ins window will open, click Browse.
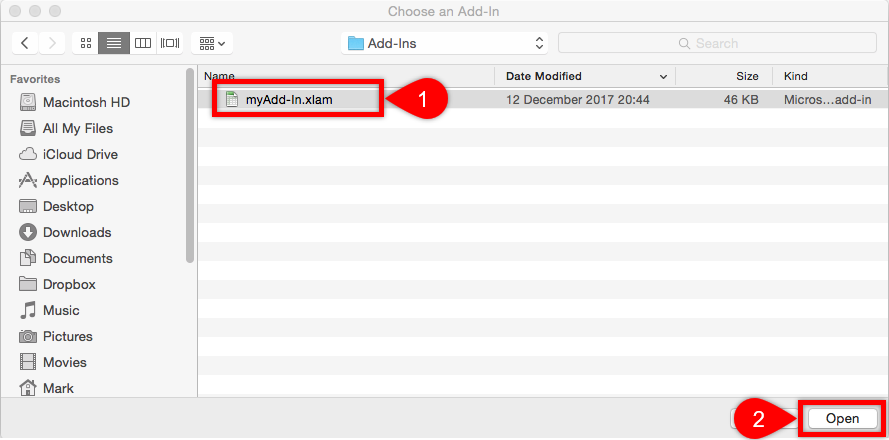
Navigate to the location where you saved the Add-in file. Select the file, click Open.
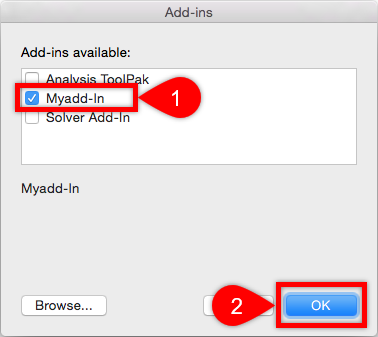
The Add-in will appear in the list with a tick next to it. Click OK.
The Add-in has installed and is now ready for use.
How to deactivate an Add-in (Mac)
If you wish to keep an Add-in, but do not need it to be active follow these steps (see screenshots in the section above).
Open Excel. From the Menu Bar select Tools -> Excel add-ins…
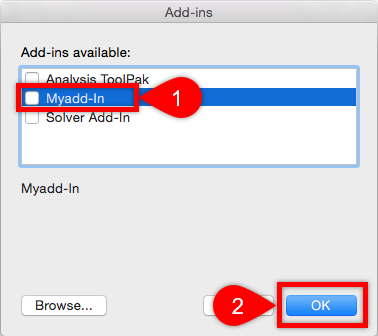
In the Add-ins window remove the tick next to the Add-in to be deactivated, then click OK.
The Add-in will no longer be available to use and will not load automatically when Excel starts.
How to uninstall an Add-in (Mac)
If you wish to uninstall an Add-in completely, delete, move or rename the original Add-in file.
Follow the steps above to deactivate the Add-in.
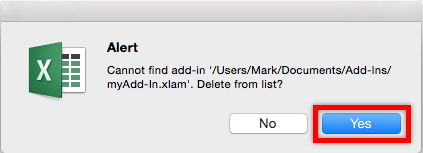
When ticking or unticking the Add-in, a message box will appear, asking for permission to delete the reference to the Add-in. Click Yes.
The Add-in will no longer appear in the list of Add-ins.
Conclusion
To install an Add-in requires a few manual steps. For both Mac and Windows these steps are quick and easy to apply.
Related Posts:
- Useful VBA codes for Excel (30 example macros + Free ebook)
- How to fix “Microsoft has blocked macros” (2 simple ways)
- How to convert color codes (RGB, HSL, HSV, Hex, Long, CMYK)
Discover how you can automate your work with our Excel courses and tools.
The Excel Academy

Make working late a thing of the past.
The Excel Academy is Excel training for professionals who want to save time.