
Reconciliations are a common and time-consuming activity for finance and data professionals. So, in this post, we look at how to automate reconciliations with Power Query.
A reconciliation is nothing more than comparing two pieces of information and ensuring they contain the same values. Unfortunately, reconciliations can be time-consuming, as a user may need to work down each list and tick off the items that are the same (literally with a pen and paper or on-screen). Then, the remaining items that are not the same need to be investigated so that corrective action can be taken.
With Power Query, we can automate a reconciliation process. It can’t investigate the differences but can certainly find them in a few seconds.
Table of Contents
Download the example file: Click the button below to join the Insiders program and gain access to the example file used for this post.
File name: 0184 Power Query Reconciliation.zip
Watch the Video

Methods and principles to automate reconciliations
The goal of any reconciliation is to identify the differences between two or more inputs. There are multiple ways to achieve this with Power Query; we are looking at only one method in this example.
The steps required for this method are:
- Create a list of unique references from all inputs.
- Merge the items in each input with the unique list created in Step 1
- Calculate the variances.
Example
For this example, we are using payroll data.
Let’s assume we sent a schedule of salaries to our 3rd party payroll company. They calculated the taxes and net pay and returned the values to us for approval.
However, the total from the payroll company doesn’t match the schedule we sent to them. Let’s perform the reconciliation to identify the differences.
We have 2 inputs in our example files:
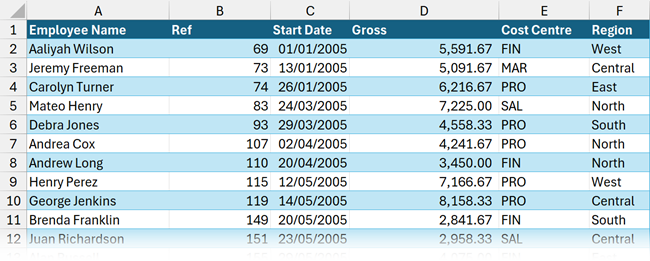
Listing – The file sent to the payroll company. Total Gross value: £4,092,558.19
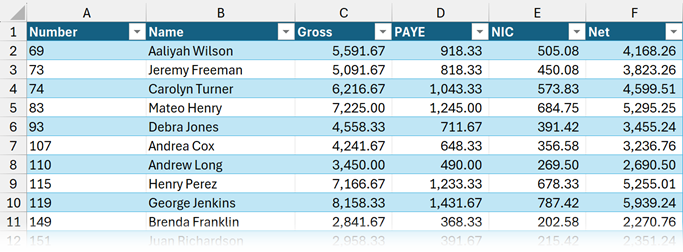
Payroll – The file sent back by the payroll company. Total Gross value: £4,092,099.86
There is a difference of £458.33 between the two schedules. We need to find and correct these differences.
TIP:
For our example file, these are both Tables on a worksheet that have been loaded into Power Query. However, in reality, we would connect directly to files and create the reconciliation without copying any data into the workbook. This also allows the reconciliation to be re-performed just by clicking Data > Refresh All.
Step 1: Build a list of unique items
Let’s start by building a list of unique items.
In our example, the employee number and name columns do not have the same names in both data sets.
- Listing – the columns are called Ref and Employee Name
- Payroll – the columns are called Number and Name
The first action is to rename the columns to ensure they are identical.
- Listing – Rename Employee Name column to Name
- Payroll – Rename Number column to Ref
TIP:
Technically, we only need the reference number to complete the reconciliation process. However, retaining the name or description is often helpful, so we have a user-friendly way to refer to each record.
From the ribbon, click Home > Append Queries (drop-down) > Append Queries as New.
In the Append Queries dialog box, include both the Listing and Payroll queries, then click OK.
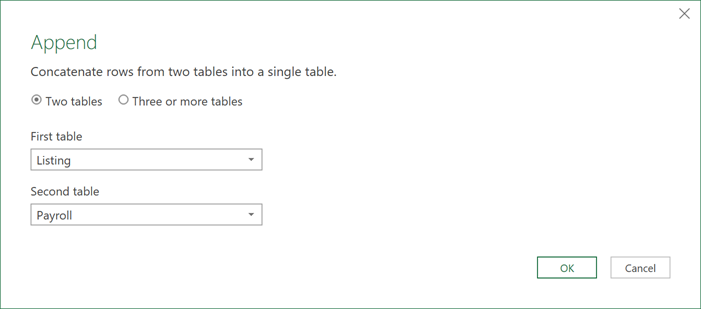
The query will be called Append1 by default. So, let’s rename the query to Reconciliation.
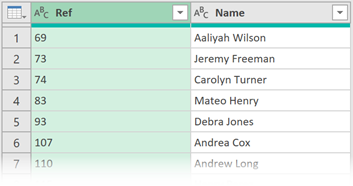
Now, we need to retain only the reference columns. Select the Ref and Name columns and click Home > Remove Columns (drop-down) > Remove other Columns.
Finally, select the Ref column and click Home > Remove Rows > Remove Duplicates.
We now have a unique list of employee numbers and their names.
As the unique list is created from both inputs, we know it is complete. Therefore, the reconciling differences must be in these records.
Step 2: Merge the queries to the unique list
We can now Merge the individual queries back into the unique list.
Merge the first query
With the Reconciliation query selected, click Home > Merge Queries.
In the Merge window, select the Listing query as the second Table, then click the Ref column (which is the unique identifier) in both Tables. Ensure the join kind is Left Outer. Then click OK.
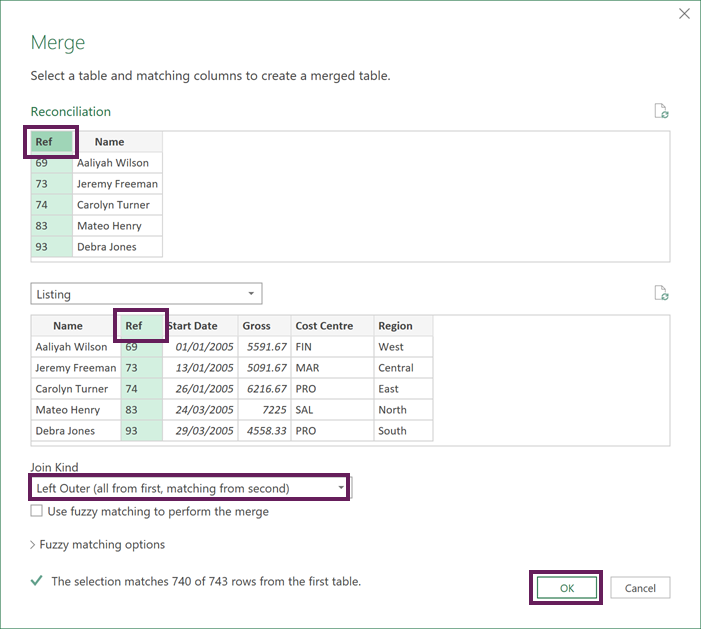
The message at the bottom of the merge window tells us that 3 records in the unique list are missing from the Listing query.
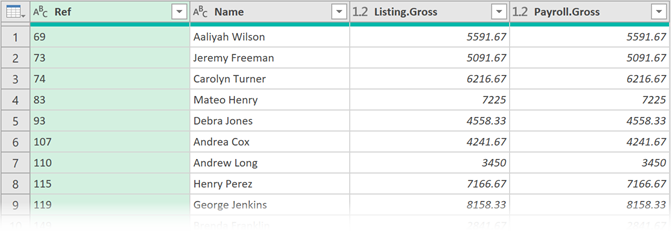
Click the double-headed arrow at the top of the Listing column, and only include the Gross column (i.e., the column we are reconciling).
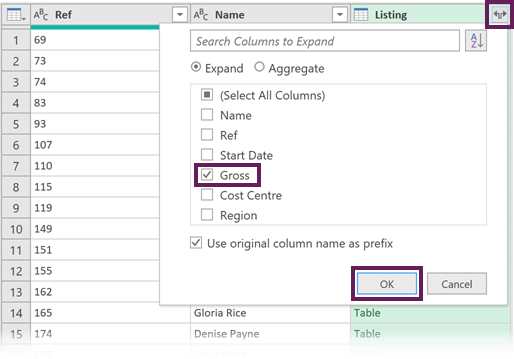
Since the column is called Gross in both queries, I have retained the original query name as a prefix so it is easy to identify where each column originated from.
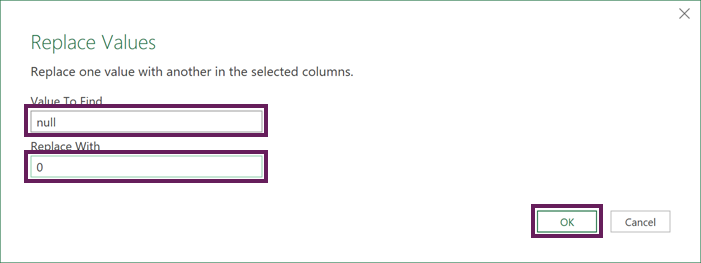
The 3 missing values will show null in the Gross column. However, we cannot calculate on a null value, so we need to replace null values for zeros.
Select the new Listing.Gross column. From the ribbon, select Transform > Replace Values.
In the Replace Values dialog box, enter the following
- Value to find: null
- Replace with: 0
- Click OK.
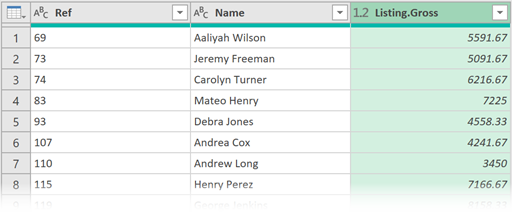
Our reconciliation query now looks like this.
Merge the second query
To merge the data from the second query, repeat the steps above using the Payroll query.
We now have a Reconciliation query with the data from both the Payroll and Listing queries.
Step 3: Calculate the differences
Next, we need to calculate the differences.
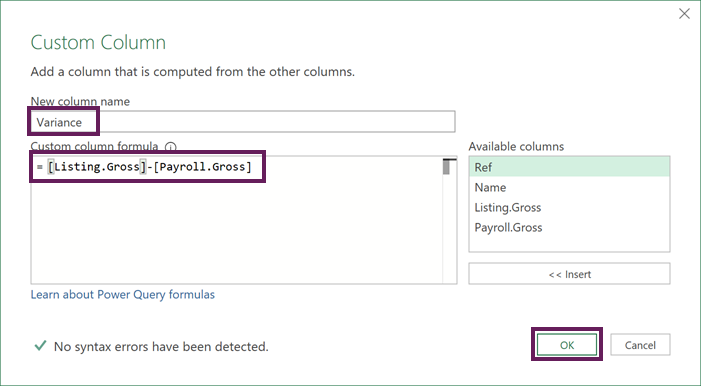
From the ribbon, click Add Column > Custom Column.
In the Custom Column dialog box, enter the following:
- New Column Name: Variance
- Custom Column Formula: =[Listing.Gross]-[Payroll.Gross]
- Click OK
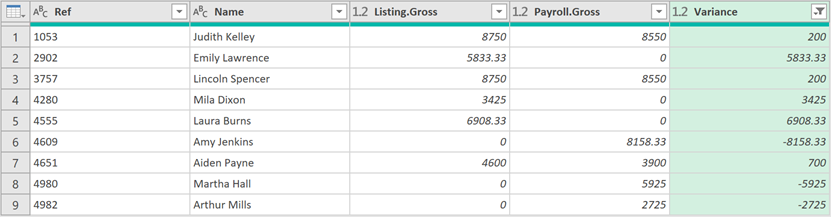
Change the data type of the Variance column to Decimal Number.
Finally, filter the Variance column to remove 0 (i.e., the items that match exactly).
We now have a list of the differences between both schedules.
Close and load the query into Excel and add a Total Row to the Table.
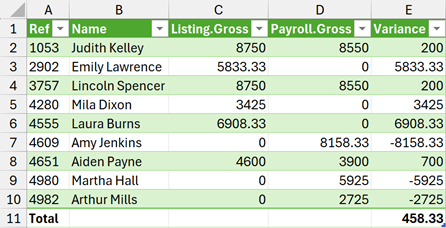
Our reconciliation shows a variance of £458.33, precisely the value we wanted to find.
Now we can investigate why that difference exists and undertake any corrective action as necessary.
Additional considerations
To use this technique successfully, there are a few elements to be aware of.
- There must be a shared reference between the inputs. If necessary, we can combine multiple columns to create a unique reference. However, where a shared referene does not exist; then there is nothing for Power Query to use.
- Where there are multiple instances of a reference in a Table, use the Group By transformation with the Sum operator before creating the unique list and merging the queries. This generates a summarized query that only includes a single instance of each reference number.
- Where references contain only numbers, Power Query may treat these as a whole number data type. I recommend changing to a text data type, to ensure any leading zeros are maintained.
Conclusion
Power Query is a valuable tool to automate reconciliations. We can easily connect to data sources and compare values.
To update the reconciliation for new data, we only need to save the data in the same location and then click Data > Refresh all.
Related Posts:
- Power Query: Lookup value in another table with merge
- Power Query Append: Quickly combine many queries into 1
- How to use Power Query Group By to summarize data
Discover how you can automate your work with our Excel courses and tools.
The Excel Academy

Make working late a thing of the past.
The Excel Academy is Excel training for professionals who want to save time.