Power Automate Desktop is a Microsoft tool for automating processes in a desktop environment. It’s a really powerful tool, but suffers from one significant drawback… it has limited Excel actions. However, Microsoft has given us the ability to run Excel macros from Power Automate Desktop; therefore, this gives us the power to do almost anything we like with Excel. So, that’s what we are looking at in this post; how to run Excel macros from Power Automate Desktop.
Power Automate Desktop is a free download for Windows 10 and natively available in Windows 11. So, there is a good chance you already have it, or could get it by talking nicely to your IT department.
In this post we just use simple macros to demonstrate the process.
Table of Contents
Download the example file: Join the free Insiders Program and gain access to the example file used for this post.
File name: 0143 Run macros from Power Automate Desktop.zip
Watch the video

Getting started with Power Automate Desktop
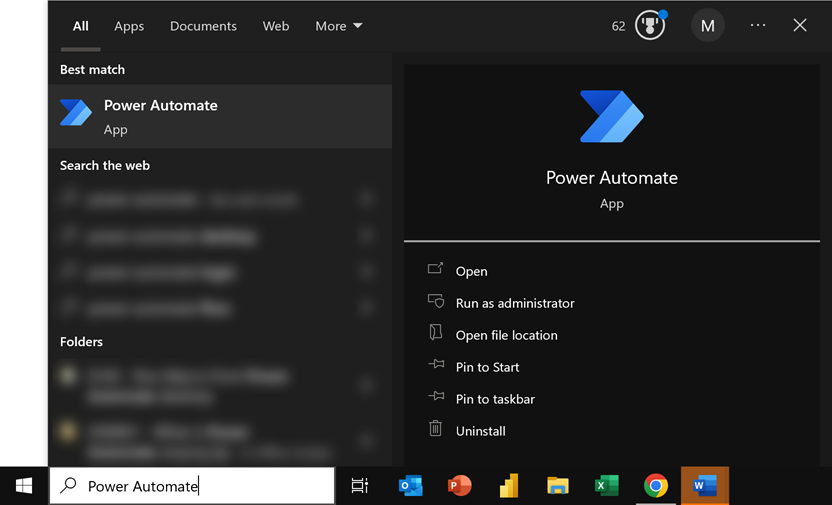
Let’s start by opening the Power Automate Desktop application; it should be searchable from the search box.
When Power Automate Desktop starts, if you’ve not created a flow before, you may have the screen below.

Click the New Flow button.
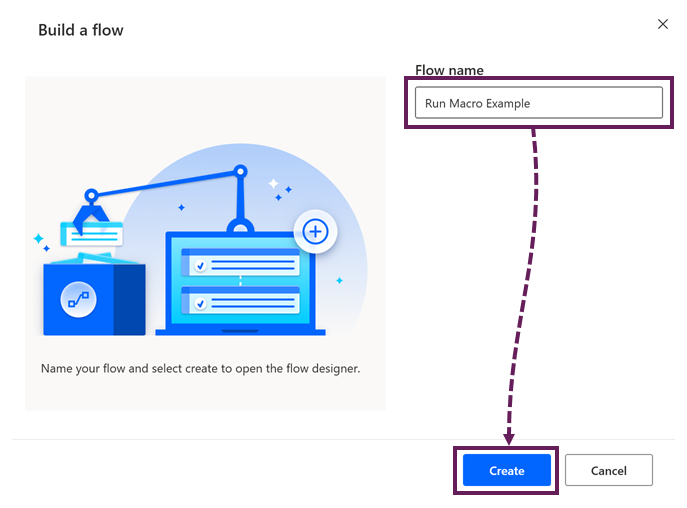
The Build a Flow dialog box opens. Give your flow a name, then click Create.
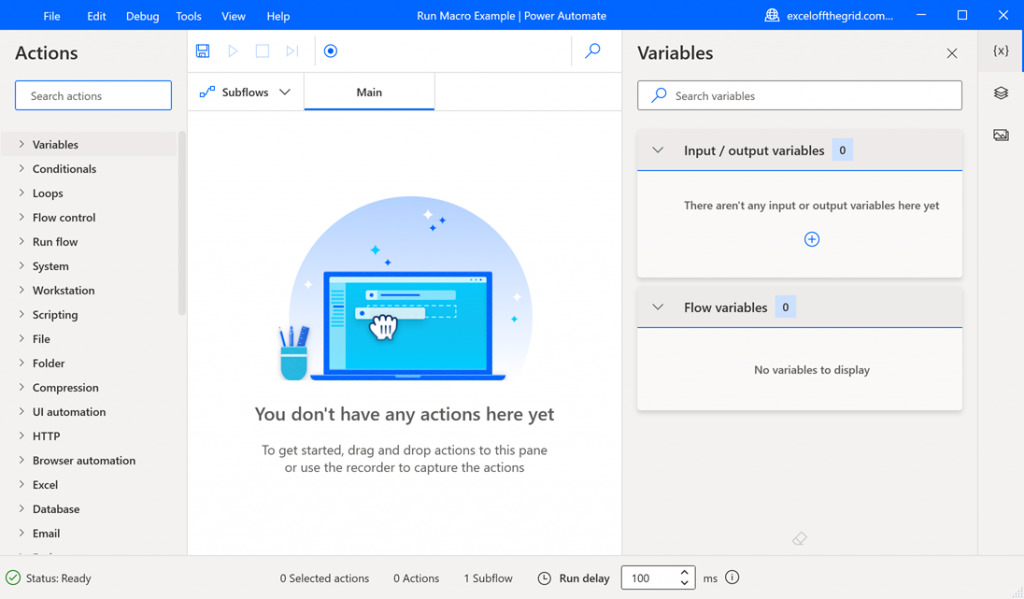
The flow edit view is laid out as follows:
- Actions (right pane) – This is a list of the individual actions which Power Automate makes available.
- Flow (middle section) – This is where we place our actions to create a flow.
- Variables (left pane) – This is where we create variables, or we can access the variables created automatically by other actions in the flow.
Building a flow to run macros
Let’s build a flow to run a macro from the example workbook.
Action #1: Launch Excel
First, we need to open an instance of Excel.
Expand the Excel section in the Actions pane. Click, drag, and drop Launch Excel into the flow.
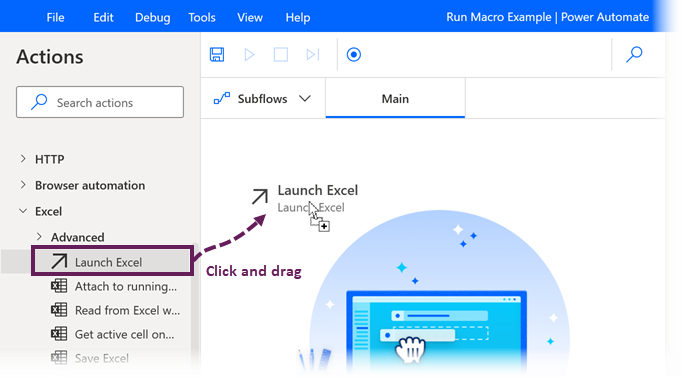
In the Launch Excel dialog box, change the Launch Excel drop-down list to and open the following document.
Enter the document path (we can click on the document icon to navigate to the workbook and select it).
When finished, click Save.

In the screenshot above, I am opening a workbook called Macro Workbook.xlsm.
This action also creates a flow variable called ExcelInstance which refers to this specific instance of Excel.
Action #2: Run Macro
Next, we want to run the macro.
Expand the Excel > Advanced section, and drop the Run Excel macro action into the flow.
The Run Excel macro dialog box opens.
The ExcelInstance variable created in the previous step is automatically included. If we have multiple Excel instances in our flow, select the correct instance from the drop-down list. The % around the value indicates this is a variable and not a text string.
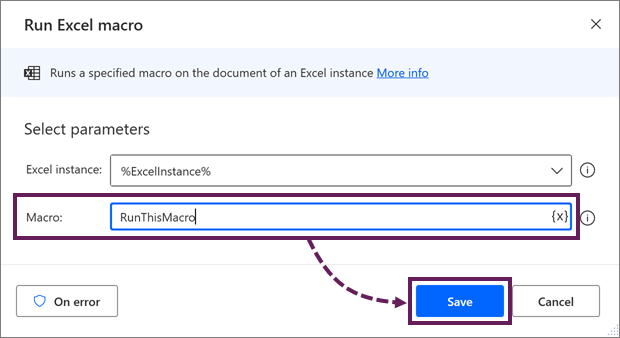
Enter the Macro name, then click Save.
Each launch of Excel can only include a single workbook. Therefore, we do not need to declare the workbook’s name when providing the macro name.
In the screenshot above, the macro I am running is called RunThisMacro.
Action #3: Close the workbook
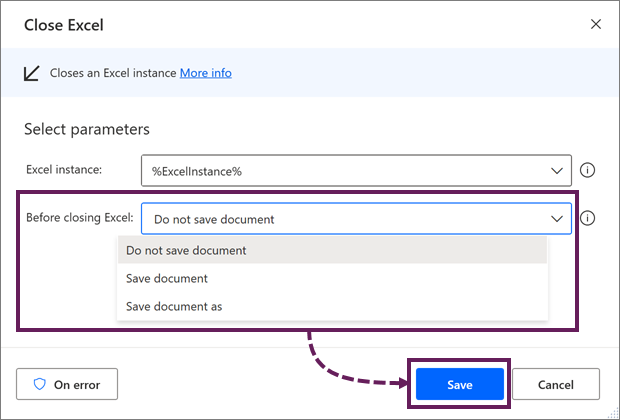
Finally, let’s close the instance of Excel we previously opened.
Add the Close Excel action into the flow. In the dialog box, select the Before closing Excel option which meets your scenario. Then, click Save.
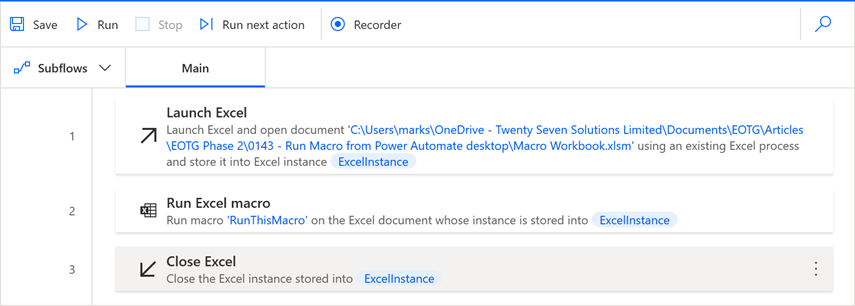
Review the flow
The flow now looks like this:
Saving the flow
Click the Save button at the top of the window.
Running the flow
Now we are ready to run our flow. There are various ways to do this:
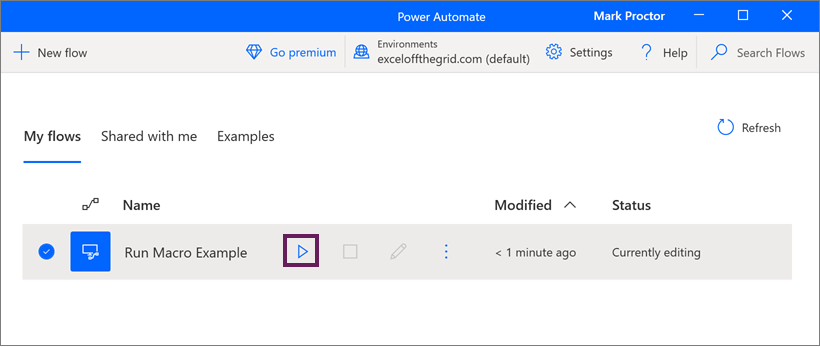
- Click the Run button at the top of the window.

- Click the Run button in the list of flows.
- Use the Run a flow built in Power Automate desktop action from Power Automate Online. This is outside the scope of this post. Find out more details here: https://learn.microsoft.com/en-us/power-automate/desktop-flows/trigger-desktop-flows
This is a premium action, so may not be available to you.
Running macros with arguments
When writing reusable macros, we may include arguments to be usable in many scenarios.
We can run macros with arguments from Power Automate Desktop by separating each argument with a semi-colon ( ; ).
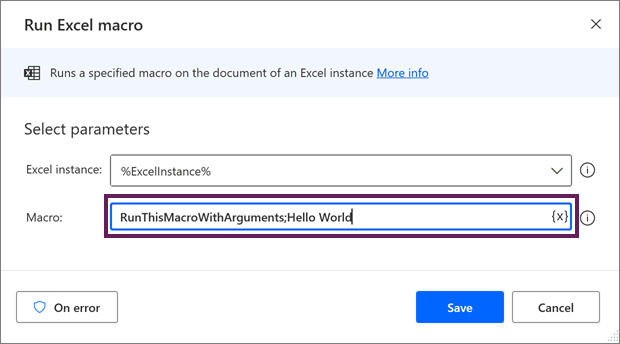
In the screenshot above, the macro RunThisMacroWithArguments has an argument of Hello World.
Working across workbooks
When Power Automate Desktop launches Excel, it creates a separate instance of the application containing a single workbook. As a result, we cannot easily work with multiple Excel files in Power Automate. However, macros can open other workbooks in the same instance. Therefore, using macros in this way gives us opportunities for Excel automation that are not available in Power Automate Desktop alone.
Conclusion
Power Automate Desktop has a lot of power for integration across applications, but has limited Excel actions. However, by running macros from Power Automate, we have access to anything that macros can do while still leveraging the Power Automate Desktop functionality.
Related Posts:
- Move data between workbooks (Power Automate+Office Scripts)
- How to run Power Automate from Excel with Office Scripts or VBA
- Use Office Scripts with Power Automate
Discover how you can automate your work with our Excel courses and tools.
The Excel Academy

Make working late a thing of the past.
The Excel Academy is Excel training for professionals who want to save time.
Mark… This Is super cool.
A world of opportunities
Yes, it let’s leverage the best of the old and new.