
Often when creating a macro, we may need to know the save status a file we are working with. This post explores some of the options available for understanding and controlling this important aspect of file control.
Using the .saved property
Within the Visual Basic Editor we can view the Saved property of a workbook.
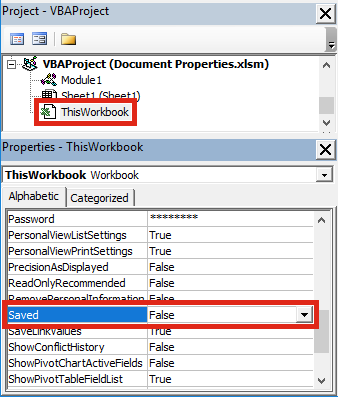
If you save a workbook it will change to True, but once you make a single change it will revert back to False.
Effectively, this property displays whether the current file has changed from the previously saved version.
Sub saveStatus()

If ActiveWorkbook.Saved = False Then
    MsgBox "The file has changed since it was last saved"
Else
    MsgBox "The file has not changed since it was last saved"
End If

End Sub
Even though it seems like this should be a read-only property, it is possible to change this it with VBA. This will trick Excel into thinking that the current file has or has not been changed.
It is this property which Excel uses to know whether to show the following message when closing the workbook.

There are two ways to avoid this message:
Method 1 – setting DisplayAlerts = False
Using the code below will not result in the “want to save your changes” message box appearing and the file will not be saved.
Application.DisplayAlerts = False
ActiveWorkbook.Close
Application.DisplayAlerts = True
Method 2 – use .saved = true
Just like method 1, using the code below will not result in the “want to save your changes” message box appearing and the file will not be saved.
ActiveWorkbook.Saved = True
ActiveWorkbook.Close
Has a file ever been saved?
We have established what the .saved property can do. But, it is missing one a piece of information . . . it doesn’t tell us if the file has ever been saved.
If you create a new document in Excel it’s saved status displays as True. But once a change is made it to the workbook, it changes to False. So, the True/False status of the saved property does not help us to know if a file has ever been saved. But, we also have a number of options here.
Method 1 – Test the file path
A workbook which has never been saved will have a blank value for the File Path.
If ActiveWorkbook.Path = "" Then MsgBox "Not saved"
Method 2 – Use FILEDATETIME function
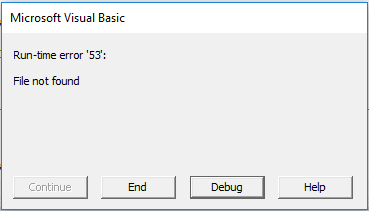
The FILEDATETIME function in VBA takes just one argument, a full File Path, and it returns the last time the file was modified.
Debug.Print FileDateTime(ActiveWorkbook.Name)
If the file has been saved, a date and time will be returned to the Immediate Window, if not, an error will be returned.
By catching the error you will know if the file has ever been saved.
On Error Resume Next
Debug.Print FileDateTime(ActiveWorkbook.Name)
If Err.Number <> 0 Then
    MsgBox "The file has never been saved"
End If
On Error GoTo 0
Method 3 – Use BuiltinDocumentProperties
This approach is similar to the FILEDATETIME function.
Debug.Print ActiveWorkbook.BuiltinDocumentProperties("Last save time")
If the file has been saved a date and time will be returned to the Immediate Window, if not an error will be returned.
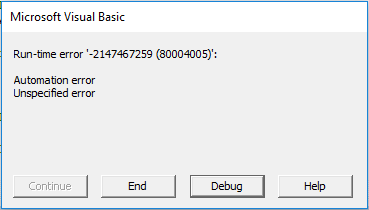
Just like the FILEDATETIME function you can catch the error if the file has never been saved.
Conclusion
When writing VBA code there are various options and settings we can use to understand and control how and if a file is saved. In a number of applications this is crucial to ensure the macro will run smoothly.
Discover how you can automate your work with our Excel courses and tools.
The Excel Academy

Make working late a thing of the past.
The Excel Academy is Excel training for professionals who want to save time.