
Data comes in all shapes, sizes and forms, so it’s not uncommon to find a dataset with a lot of blank rows. Sometimes it’s not an issue; other times, it causes big problems. Therefore, the best practice in Excel, is to remove blank rows. If there are only a few blanks, we could do this manually, but what if there are hundreds or thousands? That’s not fun.
In this post, we will look at the best methods to remove blank rows quickly and accurately.
Download the example file: Join the free Insiders Program and gain access to the example file used for this post.
File name: 0003 Remove blank rows.zip
The manual method – please don’t do this!!!
The first solution we could turn to is the manual option, but please don’t do this unless there are only a few rows.
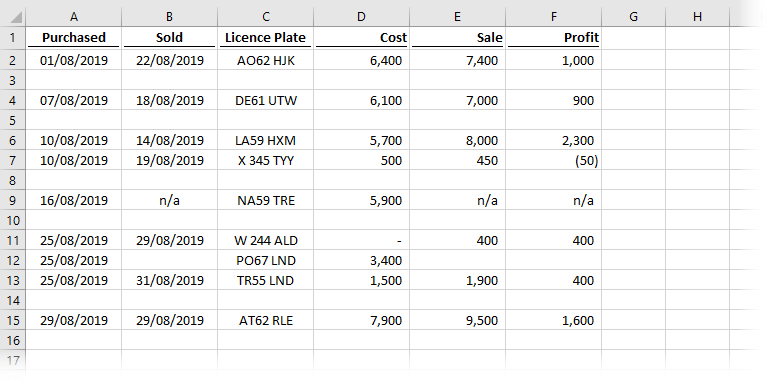
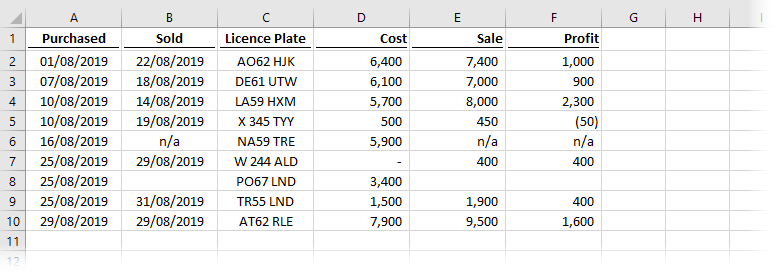
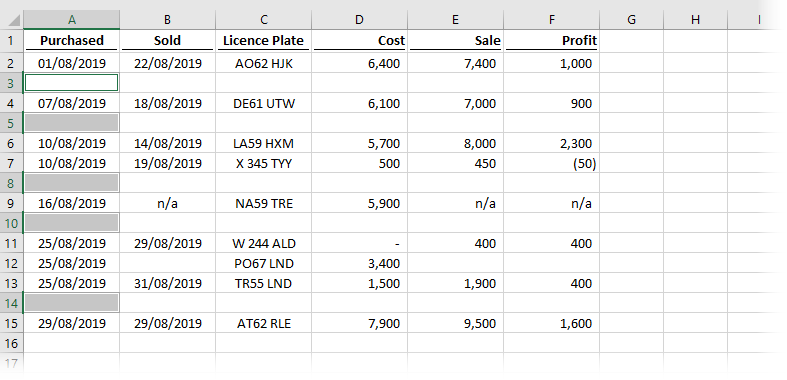
Look at the Scenario 1 – Simple data tab in the example workbook. The data looks like this:
Let’s remove those blank rows.
- Hover over the row number. The mouse icon will change to an arrow.
- Click the mouse to highlight the entire row.
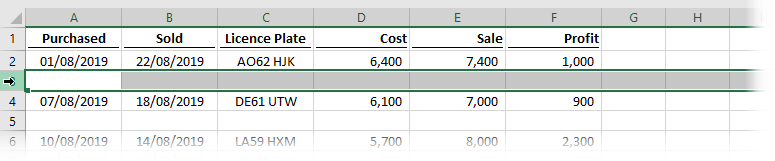
- Hold down the Ctrl key.
- Repeat steps 1 and 2 until all blank rows have been selected.
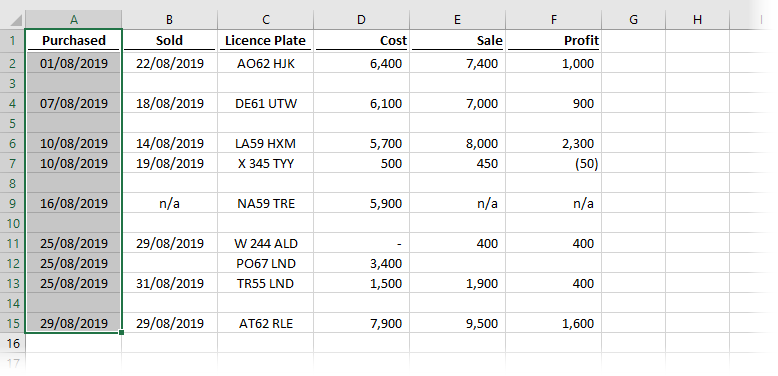
- Release the Ctrl key. The worksheet should now look like this:
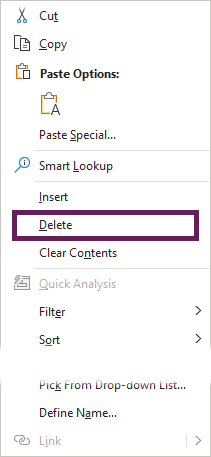
- Right-click on any of the highlighted cells and select Delete from the menu.
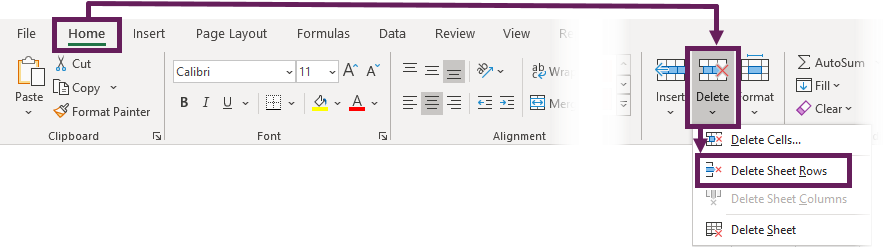
Instead of right-clicking, you could select Home -> Delete -> Delete Sheet Rows.
That didn’t take too long, did it? But then again, we only had to delete five rows.
Now let’s move on to look at some quicker options.
Automatically find blank cells
When working with simple data, like that contained within the Scenario 1 – Simple data tab, we can use a better method.
- Select a column of cells from the data range.
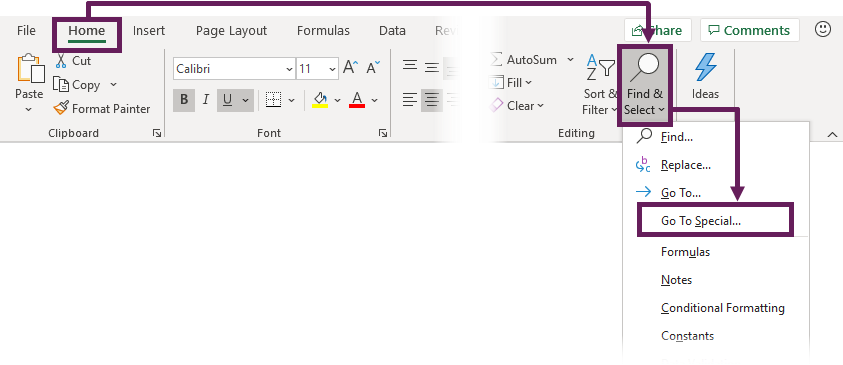
- Click Home -> Find & Select -> Go To Special… (or press Ctrl + G).
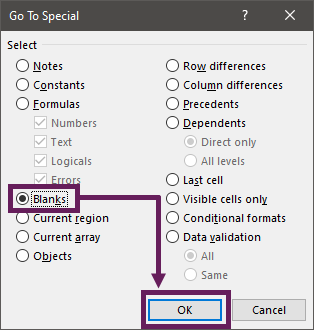
- From the Go To Special window, select Blanks and click OK.
- Only the blank cells are highlighted.
- Right-click on one highlighted cell, select Delete from the menu.
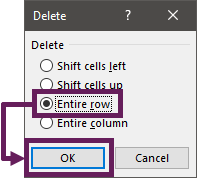
- The Delete dialog box will open. Select Entire row, then click OK.
That’s it. The blank rows have been removed with just a few clicks.
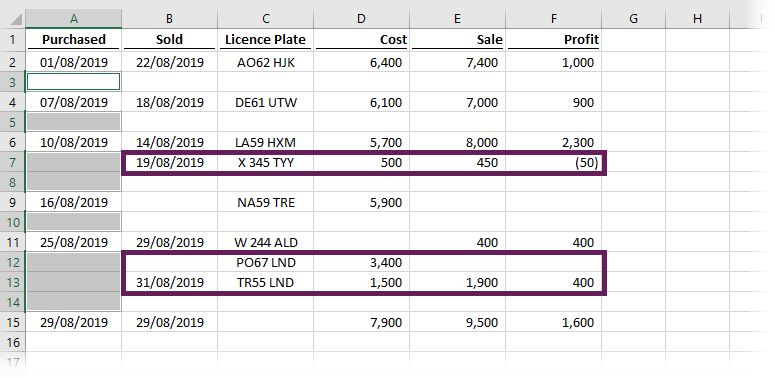
Now, try this method on a dataset where the blank rows are not all in complete rows. Use the Scenario 2 – Complex data tab in the example workbook. Hmmm… that won’t work. Look at the screenshot below, the data in the purple bordered cells would be deleted.
For more complex data, we need another solution.
Filtering
If our data is more like the complex scenario shown above, we could use filtering.
- Select the whole data range.
- Click Data -> Filter to apply the filter.

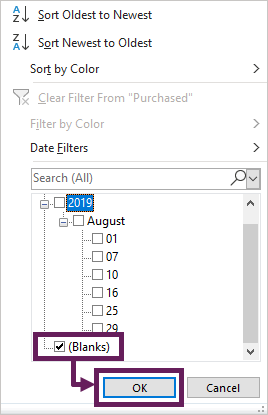
- Filter the first column to only show (Blanks), then click OK.
- Repeat the filtering for blanks for every column, or until there are only blank rows remaining.
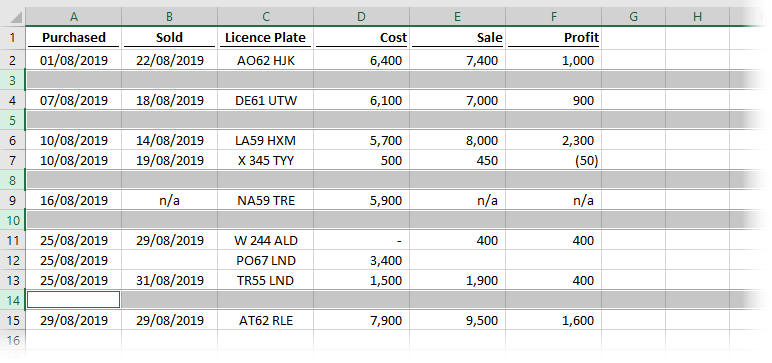
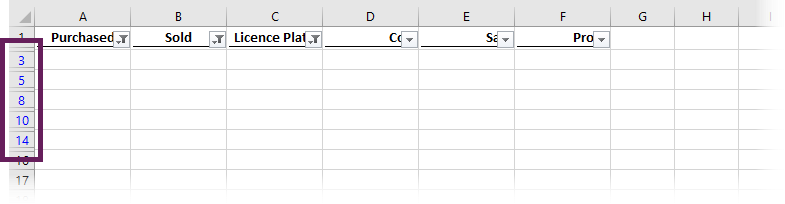
- The data set will look like this. Rows 3, 5, 8, 10, and 14 are completely blank rows.
- Select all the rows, right-click and click Delete from the menu.
- Remove the filters by clicking Data -> Filter.
All that is left are the rows we want to keep.

Still too time-consuming? Then let’s look at a macro solution next.
VBA macro method
If you remove blanks rows a lot, then a macro might be a faster option.
WARNING! – Running a macro will clear the undo stack, so if you get this wrong, you can’t undo it!
The VBA code below is available in the example workbook.
The macro will only delete completely blank rows. Therefore, it will work with the basic and more complex scenarios. Select the full data range, and run the following macro.
Sub DeleteBlankRows()

Dim i As Long
Dim rng As Range

Set rng = Selection

'Loop backwards through the rows
'ensures the rows delete correctly
For i = rng.Rows.Count To 1 Step -1

    'Check if the row is entirely blank
    If WorksheetFunction.CountA(rng.Rows(i)) = 0 Then

        'Delete the entire row
        rng.Rows(i).EntireRow.Delete

        'To delete only the selected columns use this instead:
        'rng.Rows(i).Delete Shift:=xlUp

    End If

Next i

End Sub
Idea: Put this macro is in your Personal Macrobook; it will be available whenever you need it.
Power Query
Finally, if you’re importing data with blank rows from CSV, Text or other workbooks, it may be easier and faster to use Power Query. To learn how to do this, read my Power Query series.
Conclusion
There are lots of options to remove blank rows in Excel. Yet, you need to be aware of your data, as selecting the wrong method could easily result in deleting rows we want to keep.
Discover how you can automate your work with our Excel courses and tools.
The Excel Academy

Make working late a thing of the past.
The Excel Academy is Excel training for professionals who want to save time.