Within Excel formulas, double quotes are used to denote the start and end of a text string. Therefore, the obvious question is: how to add double quotes in Excel?
Look at the following formula as an example:
="Here is some sample text"The double quotes are at the start and end of the text string. But what if we want the text string to include double quotes, how do we do that? We can’t use the following:
="Here is some "sample" text"If we try this, it will result in an error message: “There is a problem with this formula….”
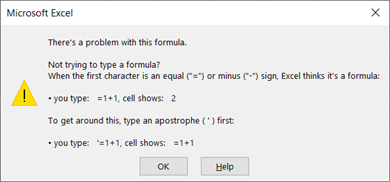
Excel doesn’t provide a solution here; it just tells us there is an error.
We’ll cover the best options to solve this problem in the remainder of this post.
Table of Contents
Using single quotes instead
This first solution is almost too simple to mention. But why go for a more complicated option if this meets your requirements?
If we want to indicate that something is a special name, then maybe single quotes will be a suitable alternative.
="Here is some 'sample' text"Single quotes have their own special meaning in Excel, but when enclosed within double quotes, they are treated as text
Many times, this won’t be a good solution. For example, if we are using the shorthand method for noting feet and inches, we must use the single-quote and double-quote characters (e.g., 6’2″ is shorthand for 6 feet 2 inches). In this circumstance, this simple solution won’t work, so let’s look at some alternatives.
Double quotes using an escape double quote
Using an additional double quote character serves as an escape character. Take a look at the following formula:
="Here is some ""sample"" text"By using two “ characters next to each other, the first is an escape double quote. this tells Excel to recognize the second “ as text and ignore the first.
In our example, if the word sample were in cell A1, we could concatenate the string using the & symbol. But we would also need to add additional escape double quotes to indicate the start and end of each text string.
="Here is some """ & A1 & """ text"In the formula above:
- Blue: the start or end of each text string
- Red: the double quote escape character
- Green: the displayed double-quote character
It works, but it’s starting to become harder to read.
Double quotes with CHAR function
The third solution is to use the CHAR function.
The escape character method demonstrated above can start to become a bit confusing; there are just too many quotation marks to easily understand what’s going on. This is where the CHAR function may be a better option.
The CHAR function returns a specific character based on a code number from the operating system’s character set. In a standard character set, CHAR(34) is the double-quote character.
Let’s look at this using an example:
="Here is some "&CHAR(34)&"sample"&CHAR(34)&" text"We still need double quotes to start and end the text strings, but we can use the & character and CHAR(34) to add double quotes into the result of our formula.
Add double quotes automatically with custom number format
The fourth option is quite a niche solution. It is only relevant where we wish an entire text string to be enclosed on double quotes. We can create a custom number format that automatically provides the appearance of double quotes.
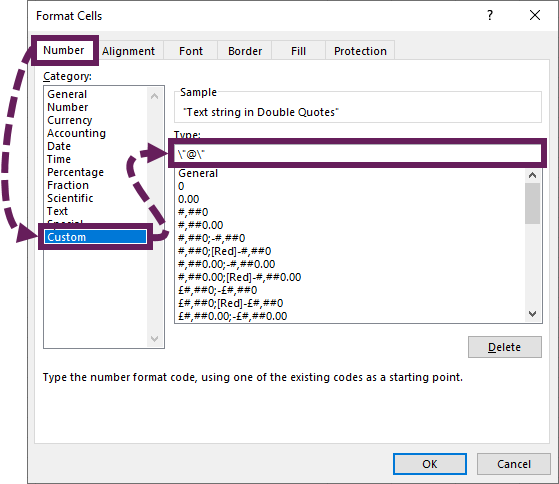
- Click Home > Number (section) > Drop-down > Select More Number Formats… (or press Ctrl + 1) to open the format cells dialog box.
- Select the Number tab, click Custom
- In the Type box enter: \”@\”
- Click OK to apply the number format.
If you enter any text into a cell with the number format applied, it automatically appears in double quotes.
NOTE: This does not add double quotes to the value, but formats the cell to give the appearance of double quotes.
Conclusion
Well, that’s it. We’ve looked at four options you can choose to insert double quotes into an Excel formula. But which is the best?
Like most things in Excel, there is no “best”. So, it comes down to your personal preferences. Whichever is the easiest for you to use, and meets your requirements, do that.
Related posts:
Discover how you can automate your work with our Excel courses and tools.
The Excel Academy

Make working late a thing of the past.
The Excel Academy is Excel training for professionals who want to save time.